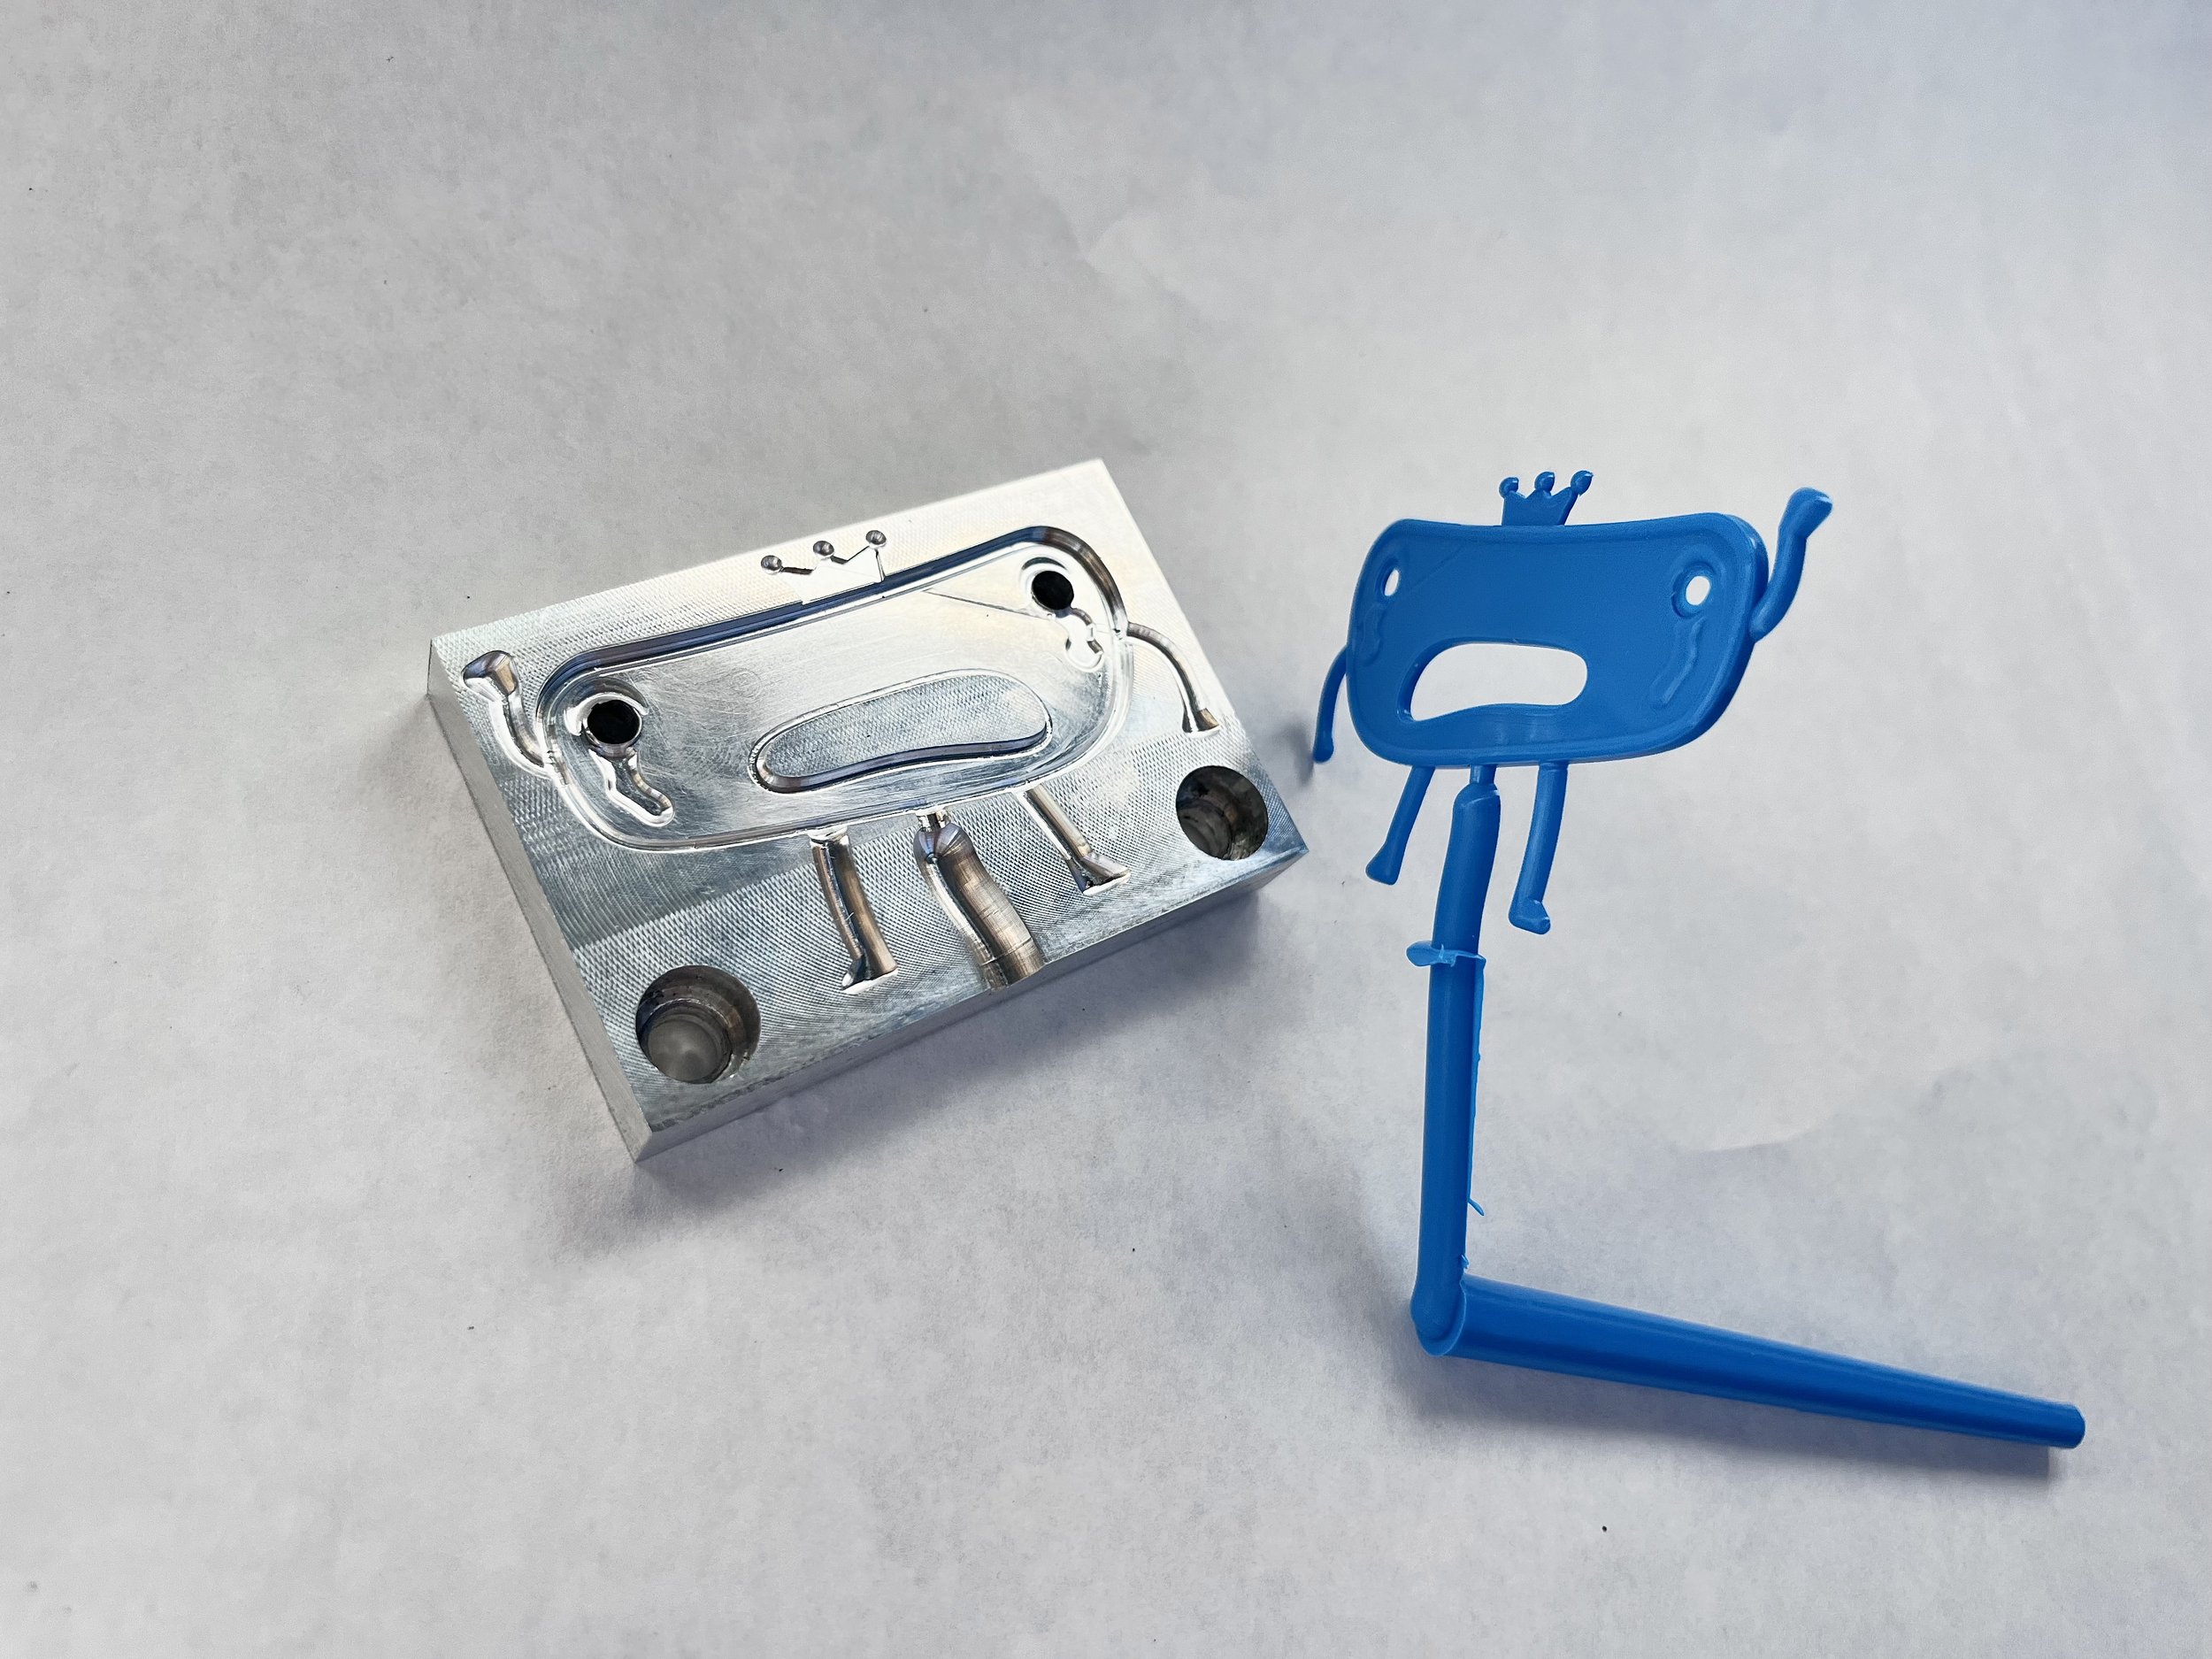
Blue Blueberry
Project Overview
For ME 325: Making Multiples - Injection Molding, I was tasked to design a small, 1-sided molded part with 2 holes which allow it to connect to other parts. I was provided with a 0.5” x 2” x 3” piece of material, mold base with 3” x 5” spacer block for the mini mold insert, ejector retainer plate and pre-cut ejector pins, and a mating A-side mold with bosses. I designed, 3D modeled, CNC machined, and injection molded a part inspired by the theme “blue.”
Processes/Tools
CNC Milling, CAD and CAM on Autodesk Fusion 360, 2D and 3D CAM toolpaths, Arburg Injection Molding Machine
Material
0.5” x 2” x 3” Aluminum mold block, Polypropylene
Mini Mold Context
The part must fit within the envelope in the provided engineering drawing.
Ideation
The theme for this project was “blue.” After mindmapping, I became interested in making a playful creature/face, and I sketched out lots of ideas. I decided to move forward with a blueberry design.
I ideated on the blueberry and came up with two final ideas. One was a typical blueberry shape with the ejector pin holes in the hands. The second was stretched out and used the holes as the eyes.
CAD Iteration
At first, I moved forward with the spherical design. However, I wanted the ejector pin holes to have more purpose in the design, so I pivoted to the stretched out blueberry. I changed the smile to an exaggerated crying face to fit the “feeling blue” theme.
Flow Simulation + Gate Choice
At first, I simulated placing the gate in the left leg. The flow was very uneven, taking a lot longer to get to the top right corner versus bottom left. Next, I simulated placing the gate between the legs. This created a more even flow of plastic into the part. I then chose a flat surface to avoid a big mark after removing the gate with snips.
Final CAD Model
CAM Strategy + Toolpaths
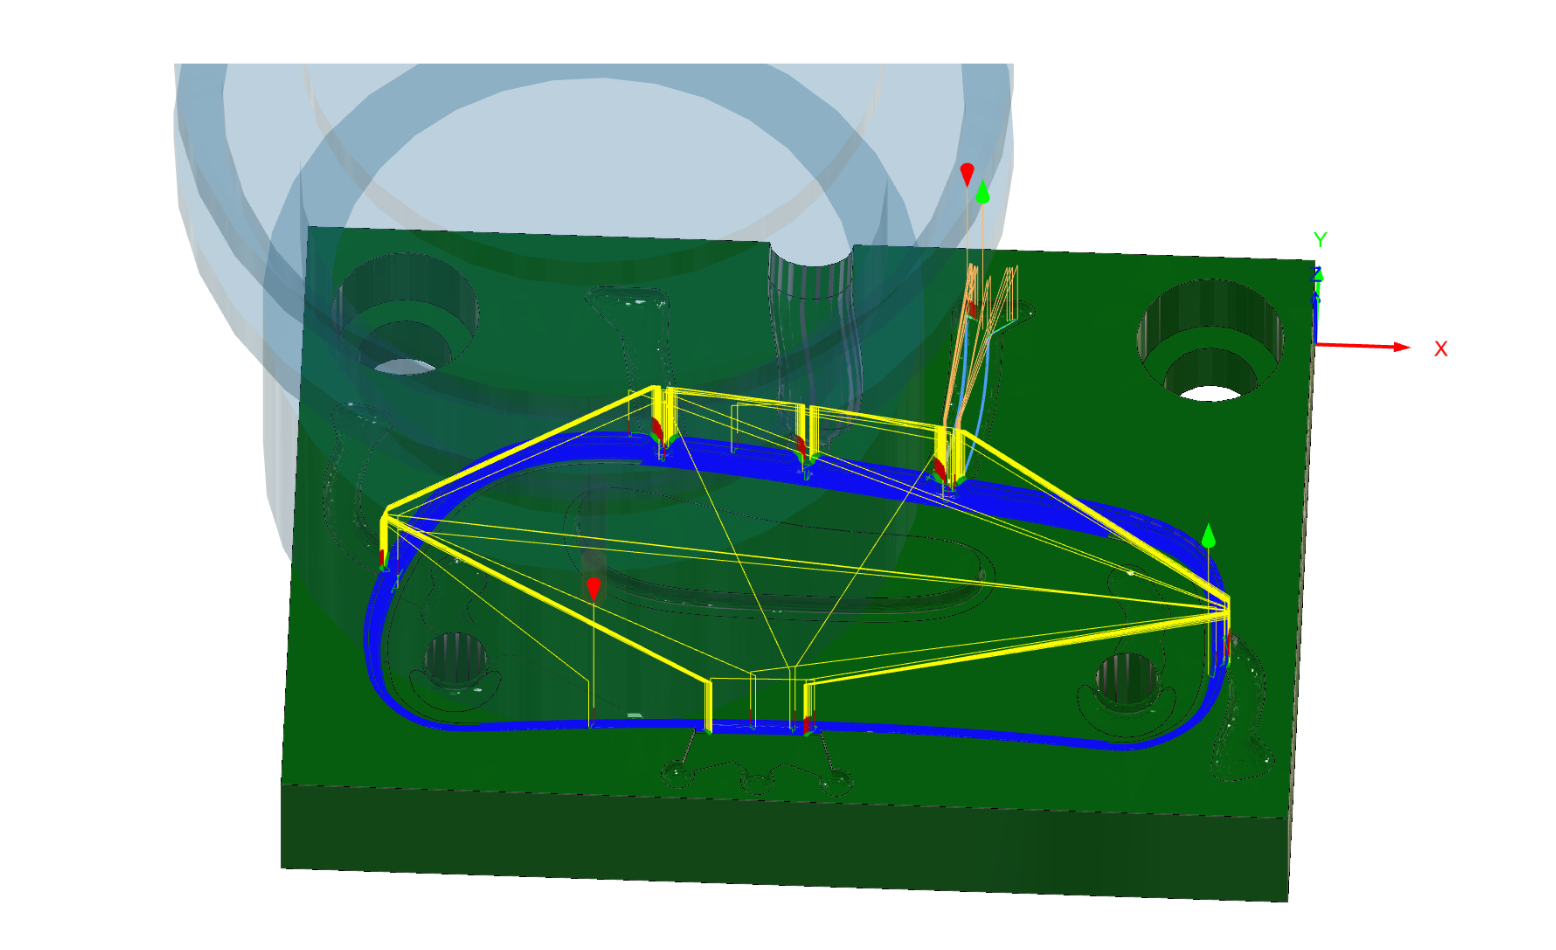
I set up my WKS to probe the datum corner in the back bottom right. I then probed the parallel on the machine.
I used Steep and Shallow and a 1/32 in BEM for the small details. For these passes, I used a .002 stepover for a smooth finish that didn’t take too long to machine.
Machining Process
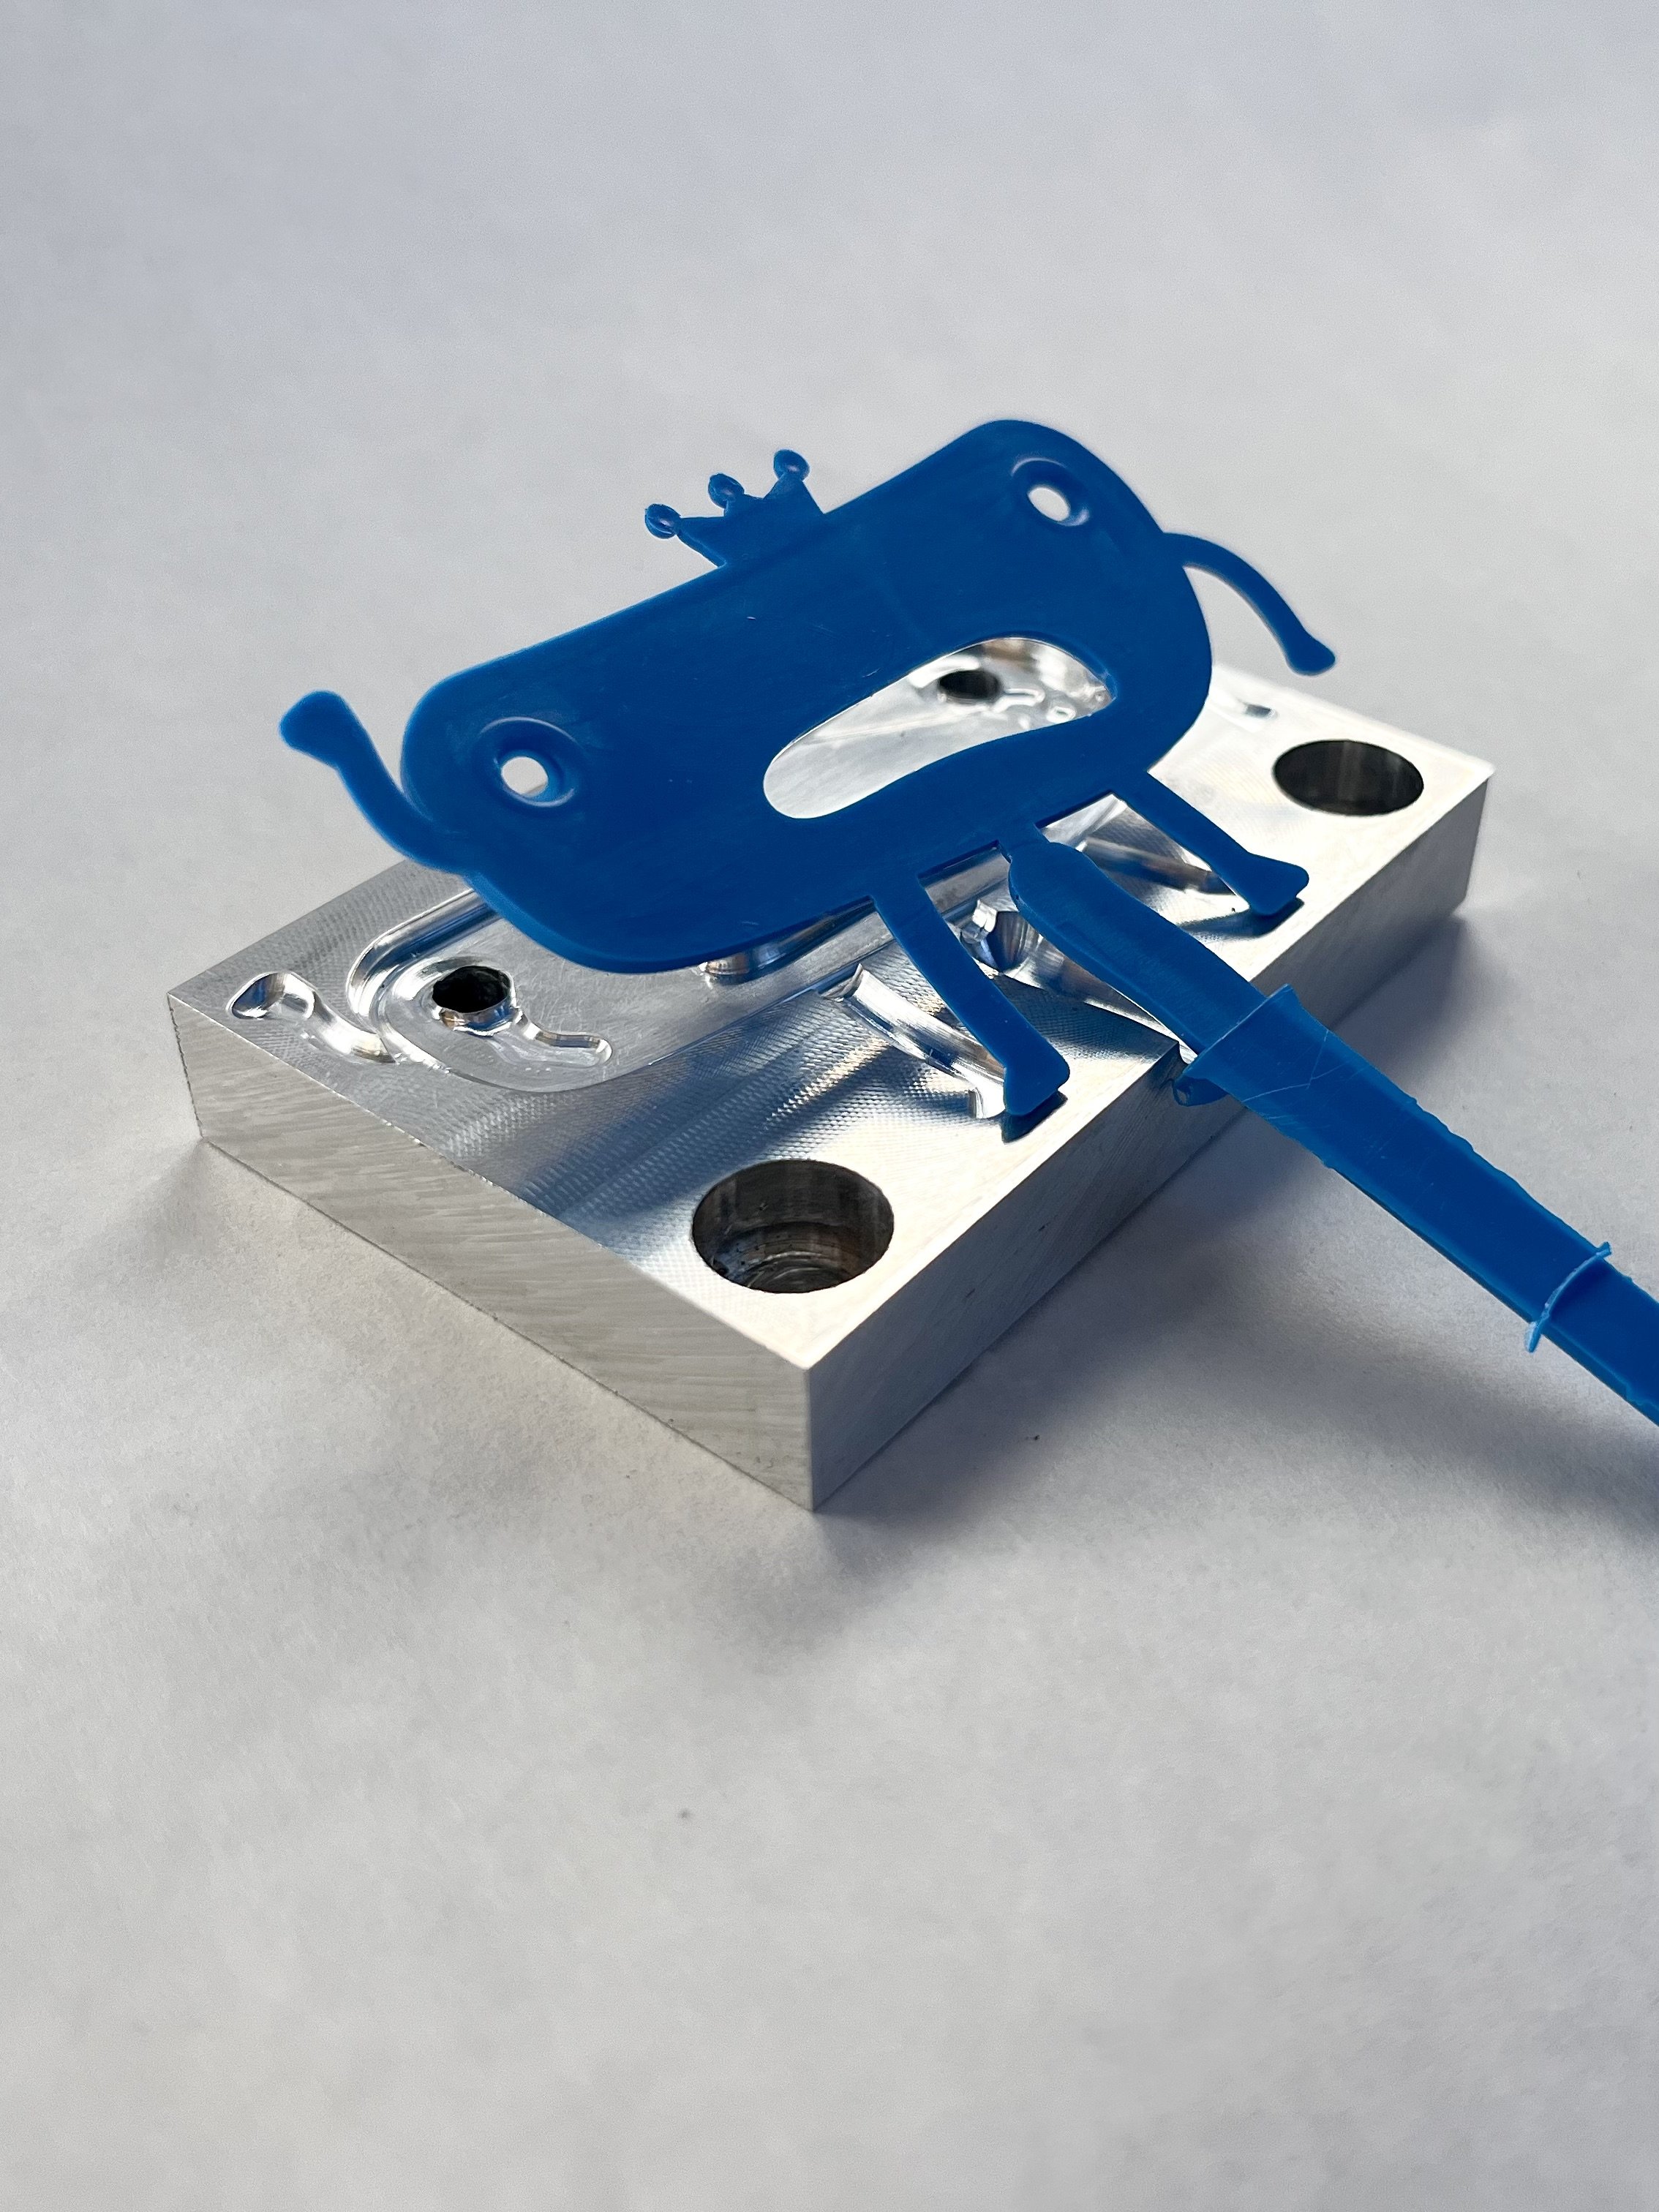
Machining went fairly smoothly, although I had to do a bit of filing and reaming afterwards to ensure that the mold fit smoothly over the ejector pins.
Molding Process
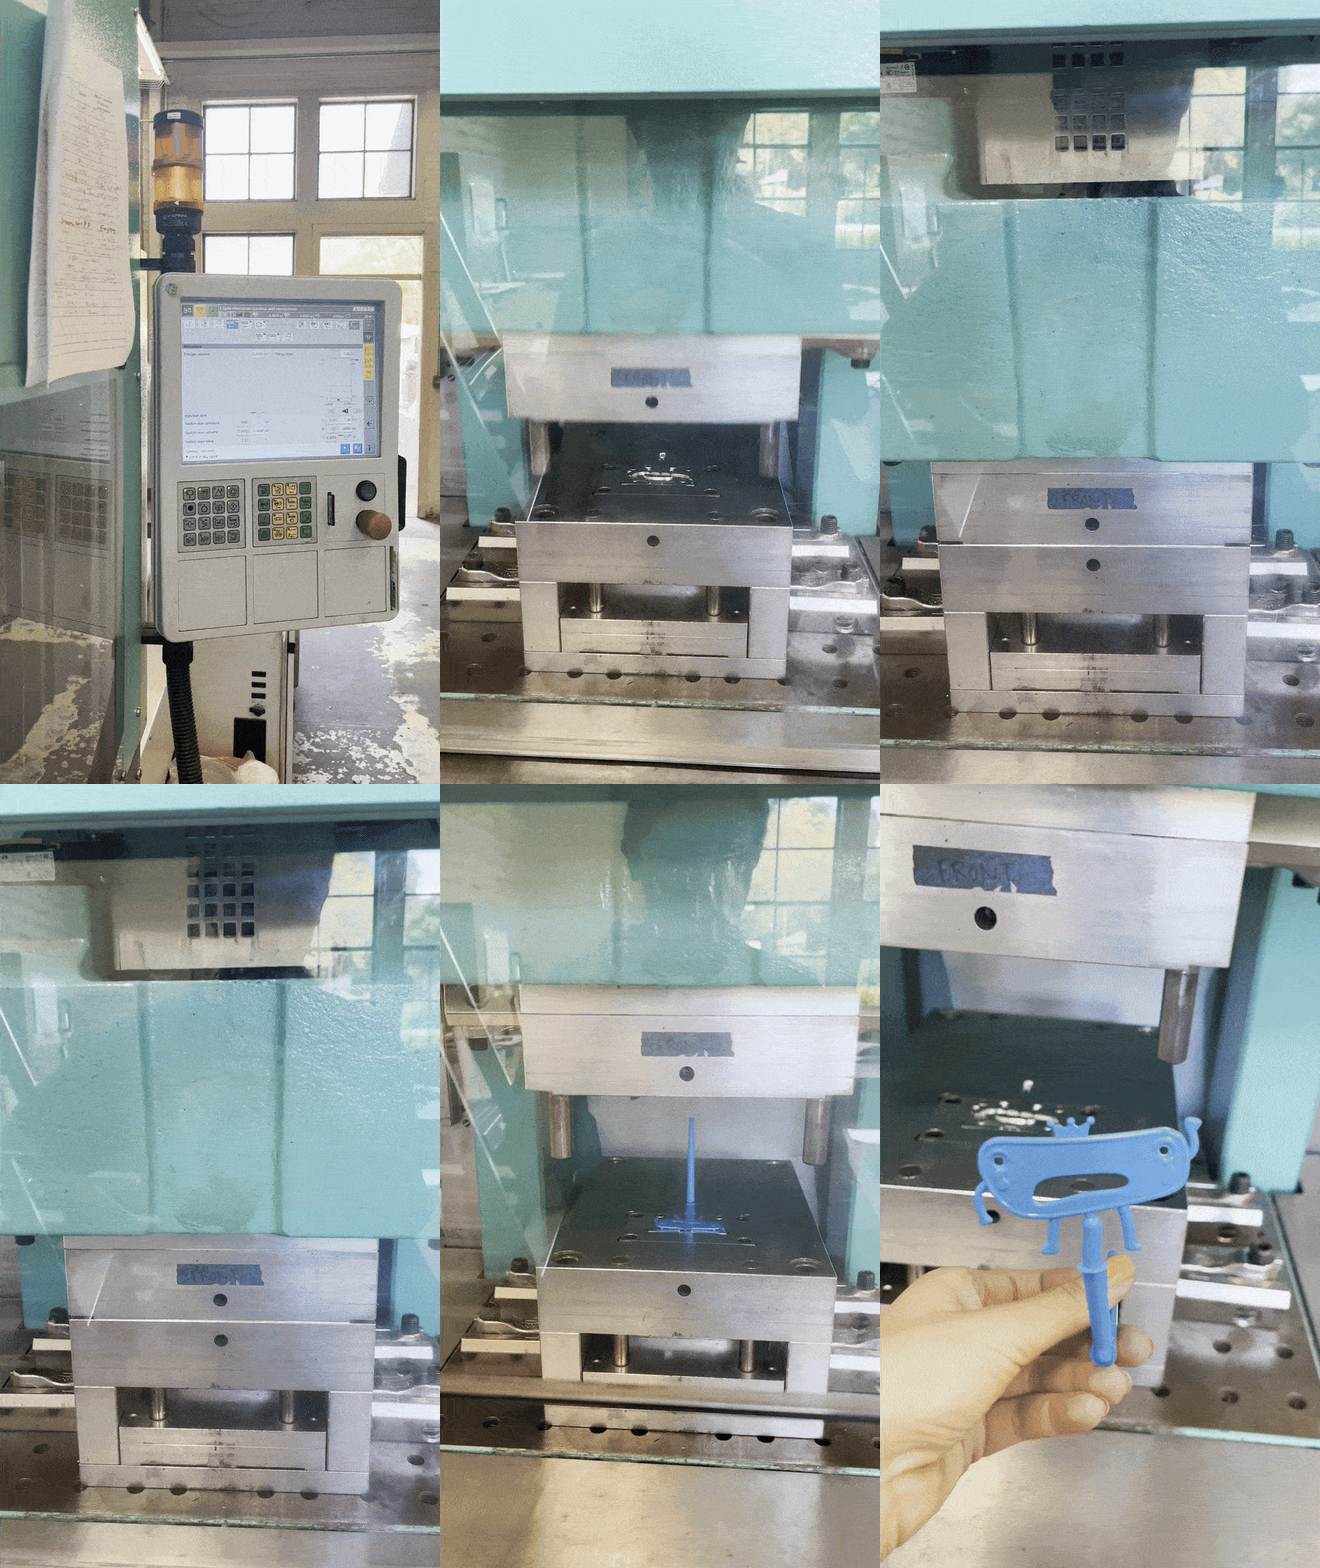
Molding was a lot of fun! At first, there was a bit of flash around the edges, but I slightly reduced the amount of plastic being injected into the part and it turned out great.
Final Part + Reflections
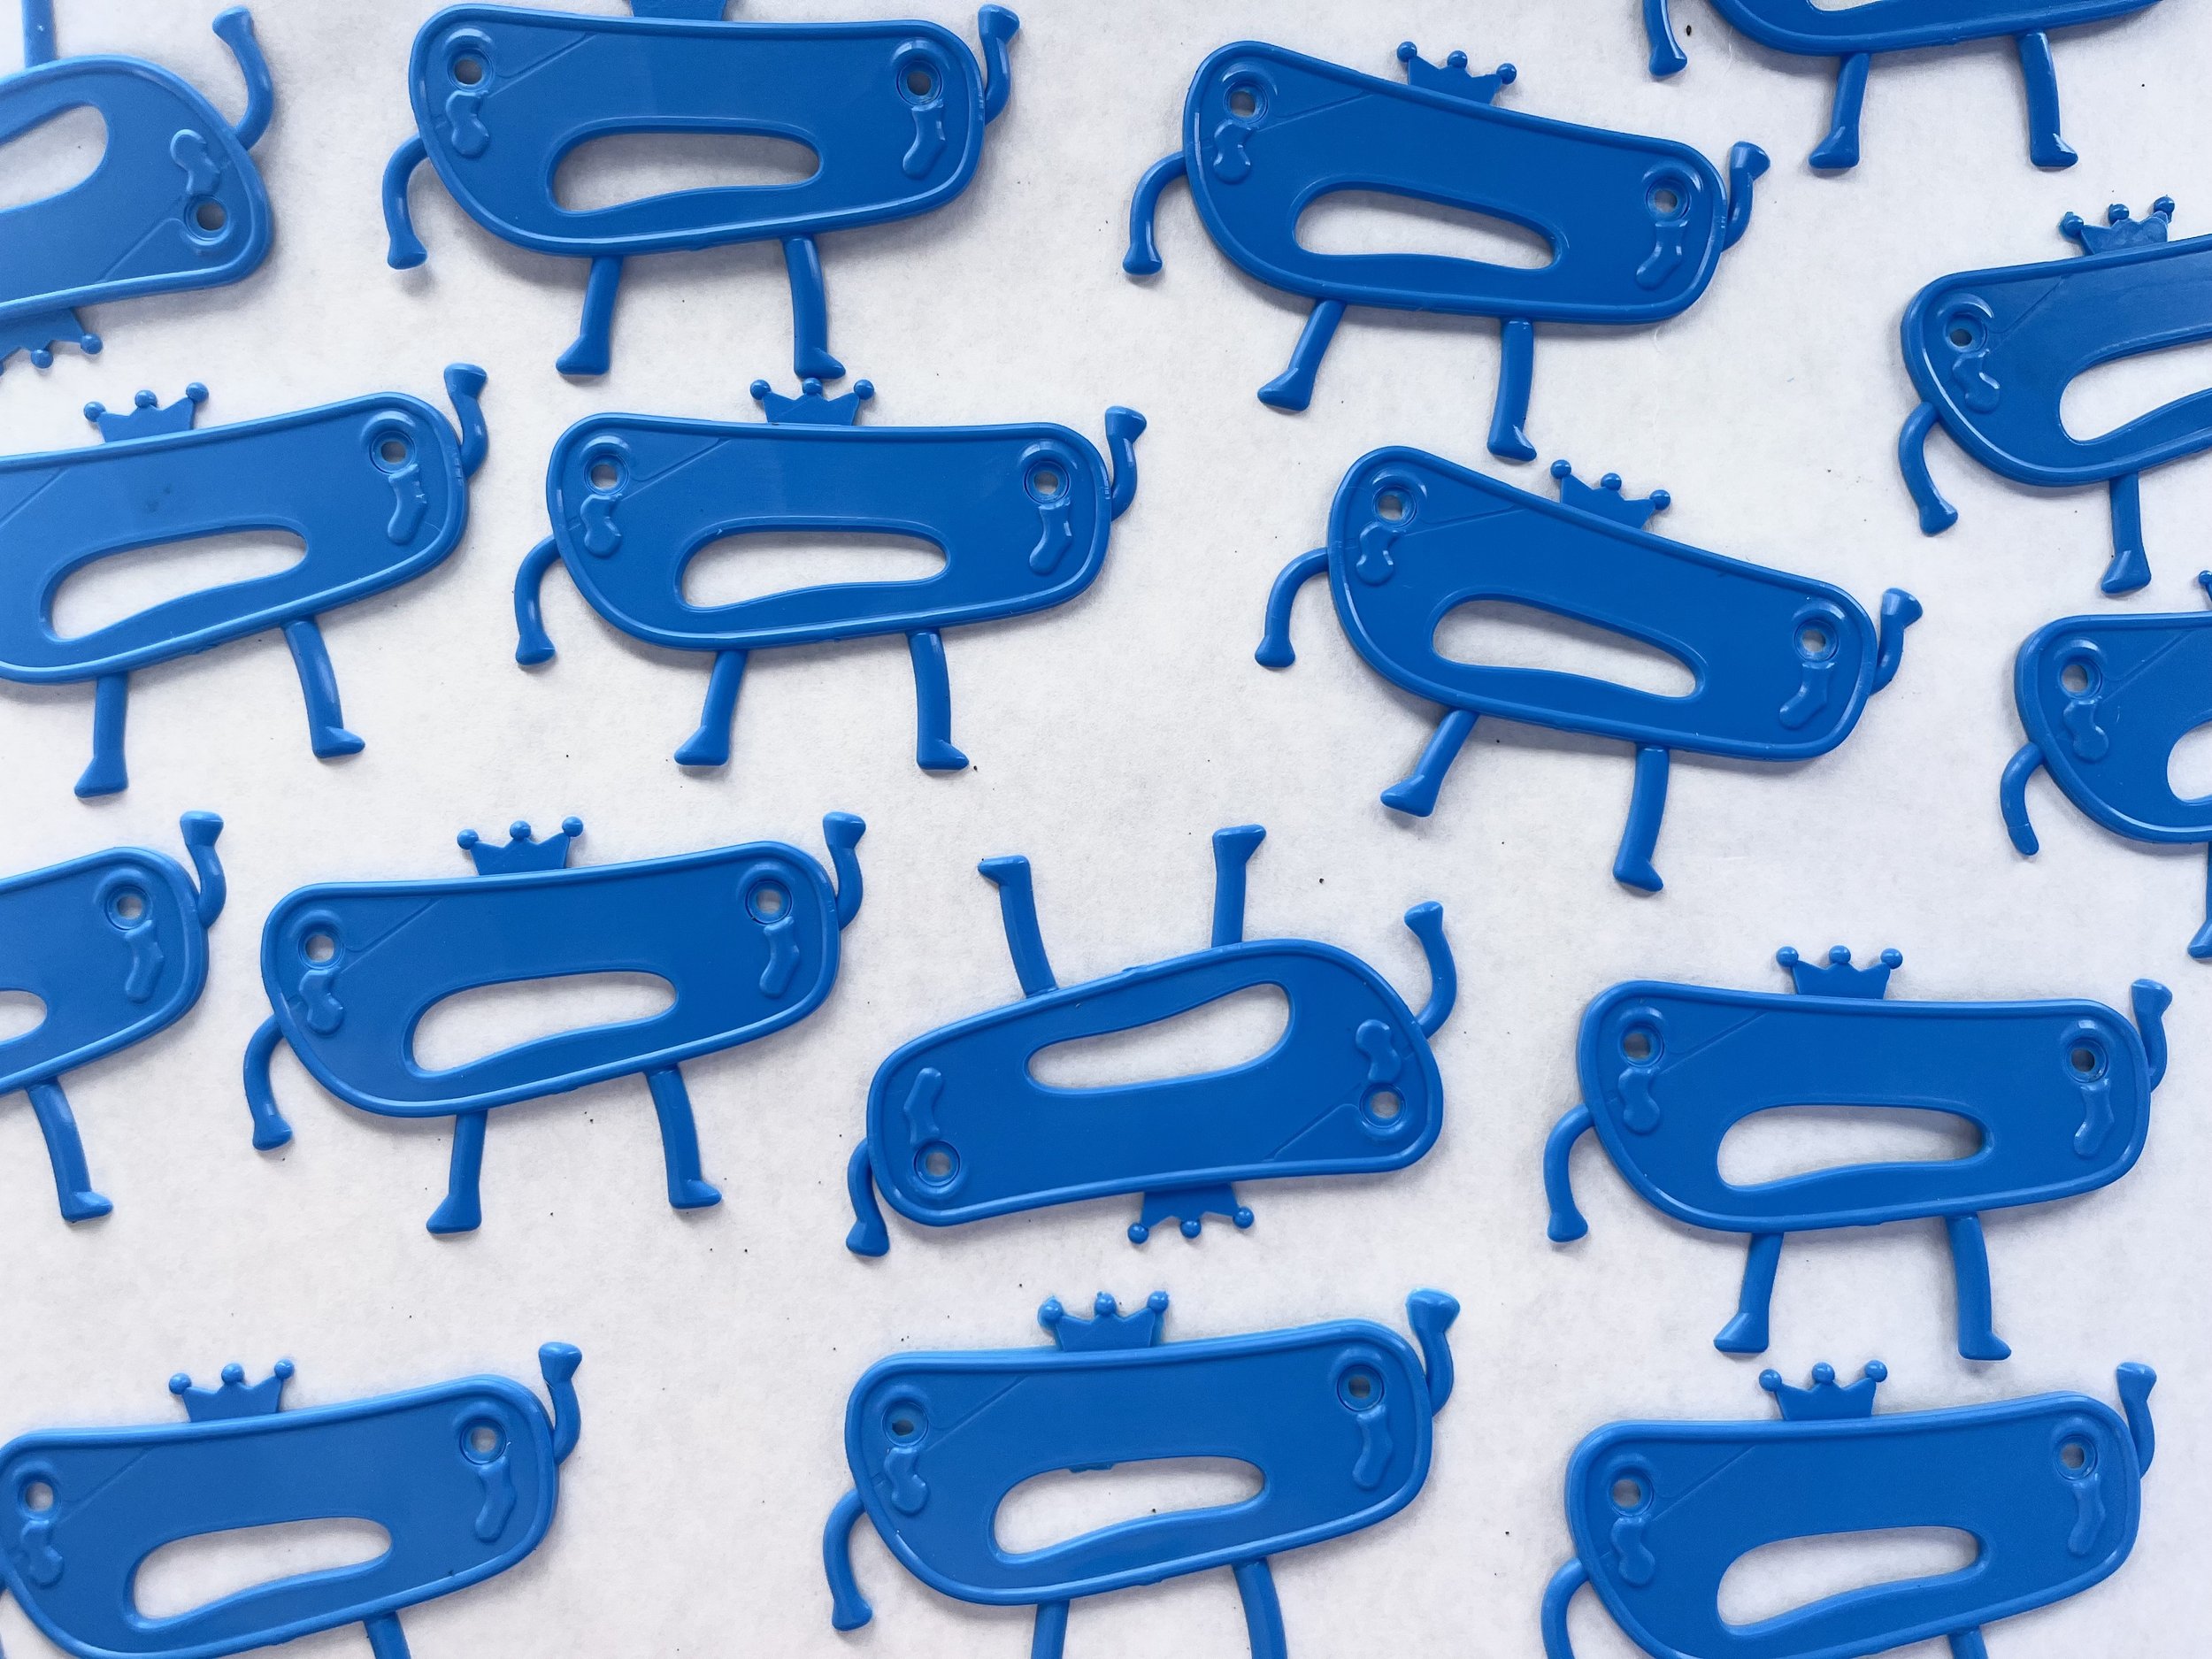
I am very excited about how this project turned out. I love the playfulness of the design. It was challenging to decide where to place the gate, to ensure machinable mold geometry in CAD while designing the positive part, and to balance surface finish and machining time while working with very small tools (1/32 in BEM). Even though the blueberry is very sad, it makes me smile when I look at it. I feel more confident in my abilities to design a mold in CAD, run flow simulations, and use the Arburg machine. If I were to do iterate upon this design, I would explore the large flat surface and try to incorporate more texture in CAD and CAM.


